1. Triaging Items
Triage the items that you have uploaded.
Last updated About 2 months ago
Triaging is the first step in the workflow.
Note: Triage is optional. If a project is set to All in scope, everything you upload goes straight to Redact and you can skip this step entirely. A badge beside the project name in the header tells you which mode a project is in, and the owner can change it later from Manage projects.

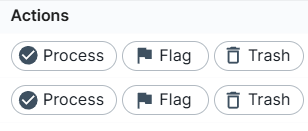
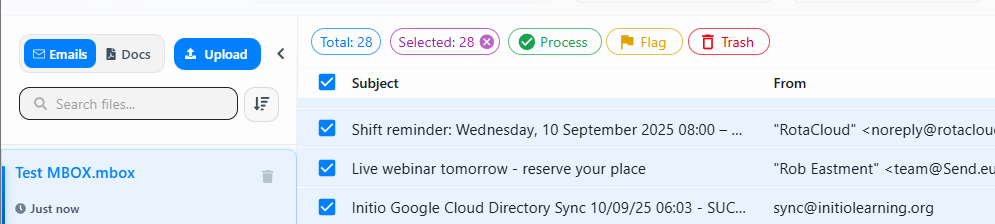
The main components you will be using are the actions.
Process: Mark emails as this if you want to take them to the next stage.
Flag: Mark email as this if you want to return to it later.
Trash: Mark emails as this if you know you don't need them.
Info: Actions are merely filters; this means you can revisit and modify them later.
Clicking on the emails list allows you to open and preview emails.
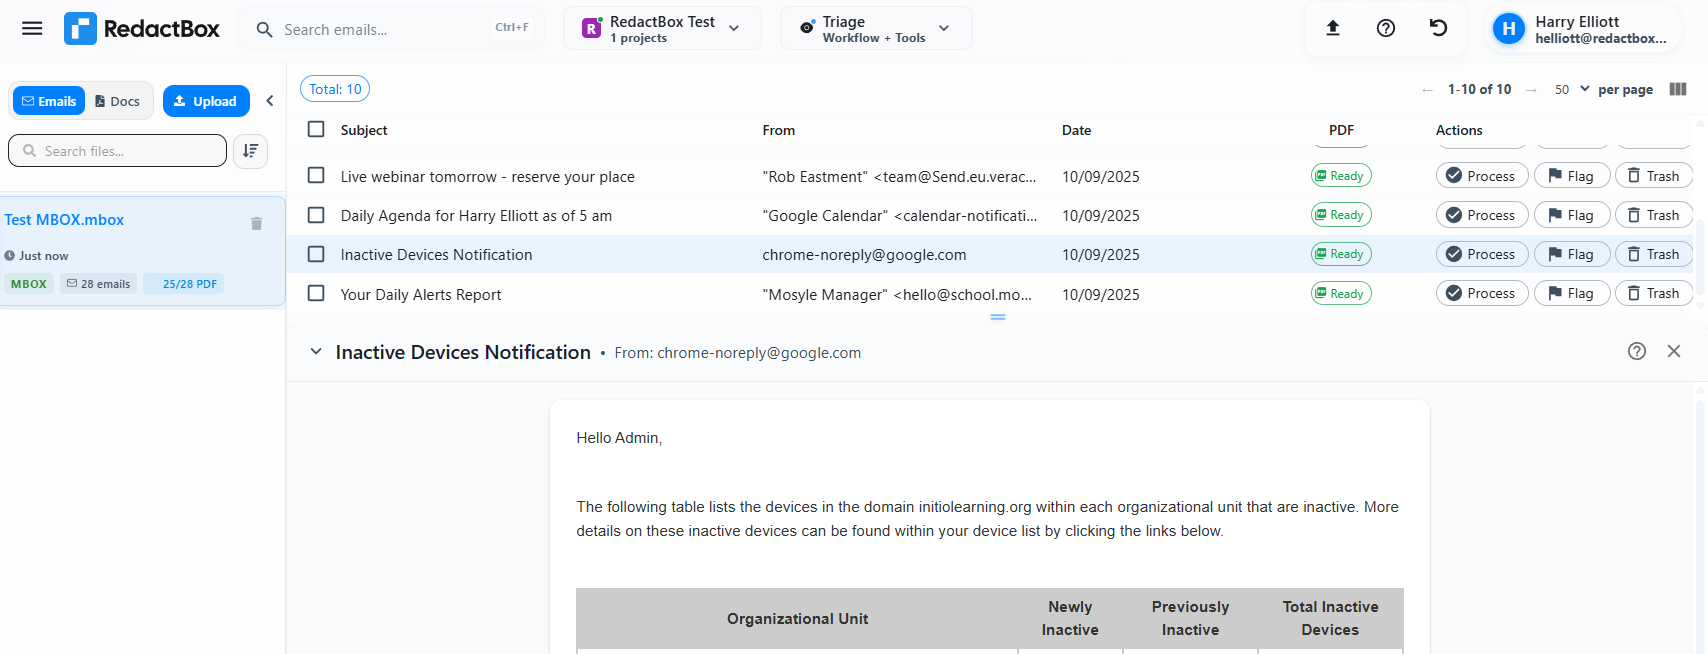
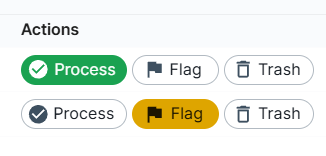
You can then click on an action, which changes colour to show that it has been actioned.
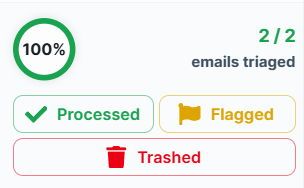
You can filter using the buttons at the bottom left of the screen. This helps, for example, when you need to revisit flagged items.
Info: It also shows you how many emails you have triaged out of the total that you have uploaded.
You can also bulk select emails or documents and change the action for all of them.
Working through a long list quickly
After you action an item, RedactBox moves you straight on to the next one, so you can work down a list without reaching for the mouse. If you get one wrong, the toast that appears carries an Undo.
Every triage action also has a keyboard shortcut, and the shortcuts apply to a multi-item selection as well as a single item — see Keyboard shortcuts for fast triage.
Was this helpful?
Still need help? Ask the team