Uploading Files
After creating a project, you can upload files.
Last updated 2 months ago
Now that you have created a project, you can upload some files to start redacting.
Note: On the free tier, you can only upload one file.
Upload Files
First, find the upload button. This is located in the sidebar on the left or at the top right of the console.

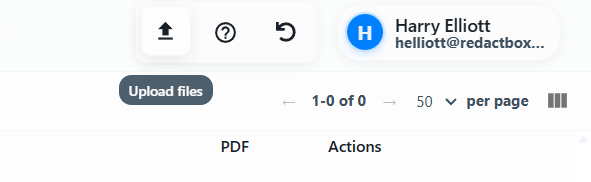
Clicking the upload button opens the upload dialogue.
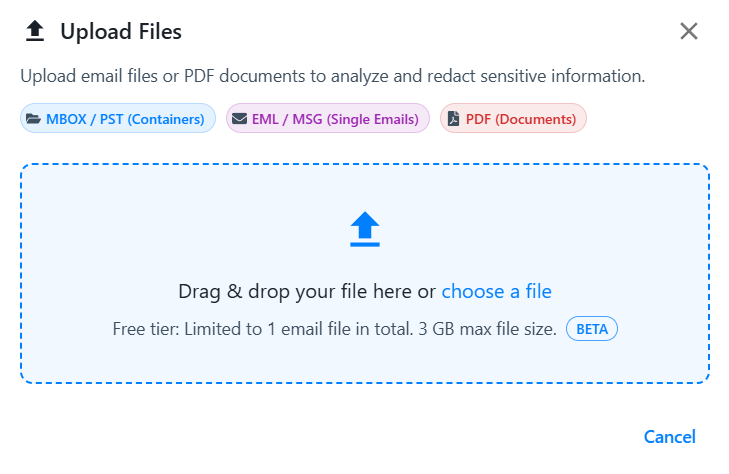
Drag files to upload or click to browse for them. You can upload up to 3GB files.
You will see the progress of your file upload.
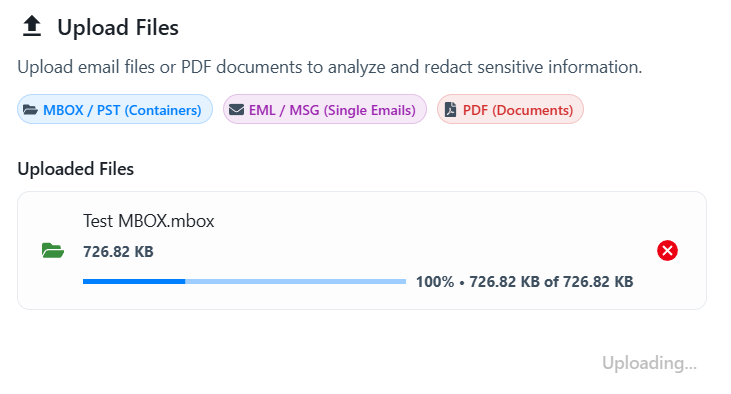
Depending on the size of your file, it may already have been processed or will begin processing now. When you click Done, your file should load in the sidebar.
Large uploads can be paused and resumed. You can also close the tab or reload the page part-way through and pick the upload back up where you left off, rather than starting again from the beginning.
Info: The progress bar and time estimate cover the processing that continues after the transfer itself finishes, so a bar still moving once the file has finished uploading is expected rather than a sign something is stuck.
Info: At this point, you can also drag and drop additional files to upload if needed.
If your file is large or has a lot of emails, you will see that it will process them and then also convert the PDFs. It will show you the status in the sidebar.


Info: You can see the file type, how many emails or files are in it, and when it was added in the sidebar panel.
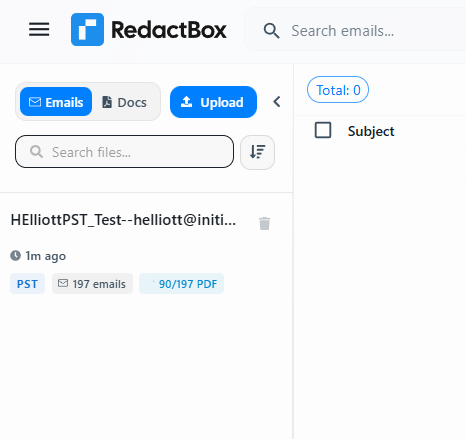
You can also use the “Emails” & “Docs” selector to switch between Document and Email archives.
Attachments
Attachments inside your items are supported. You can preview and download them without leaving RedactBox, and import a PDF attachment into your project as a document so it can be redacted in its own right.
See Viewing attachments in an email and Importing a PDF attachment as a project document.
Was this helpful?
Still need help? Ask the team